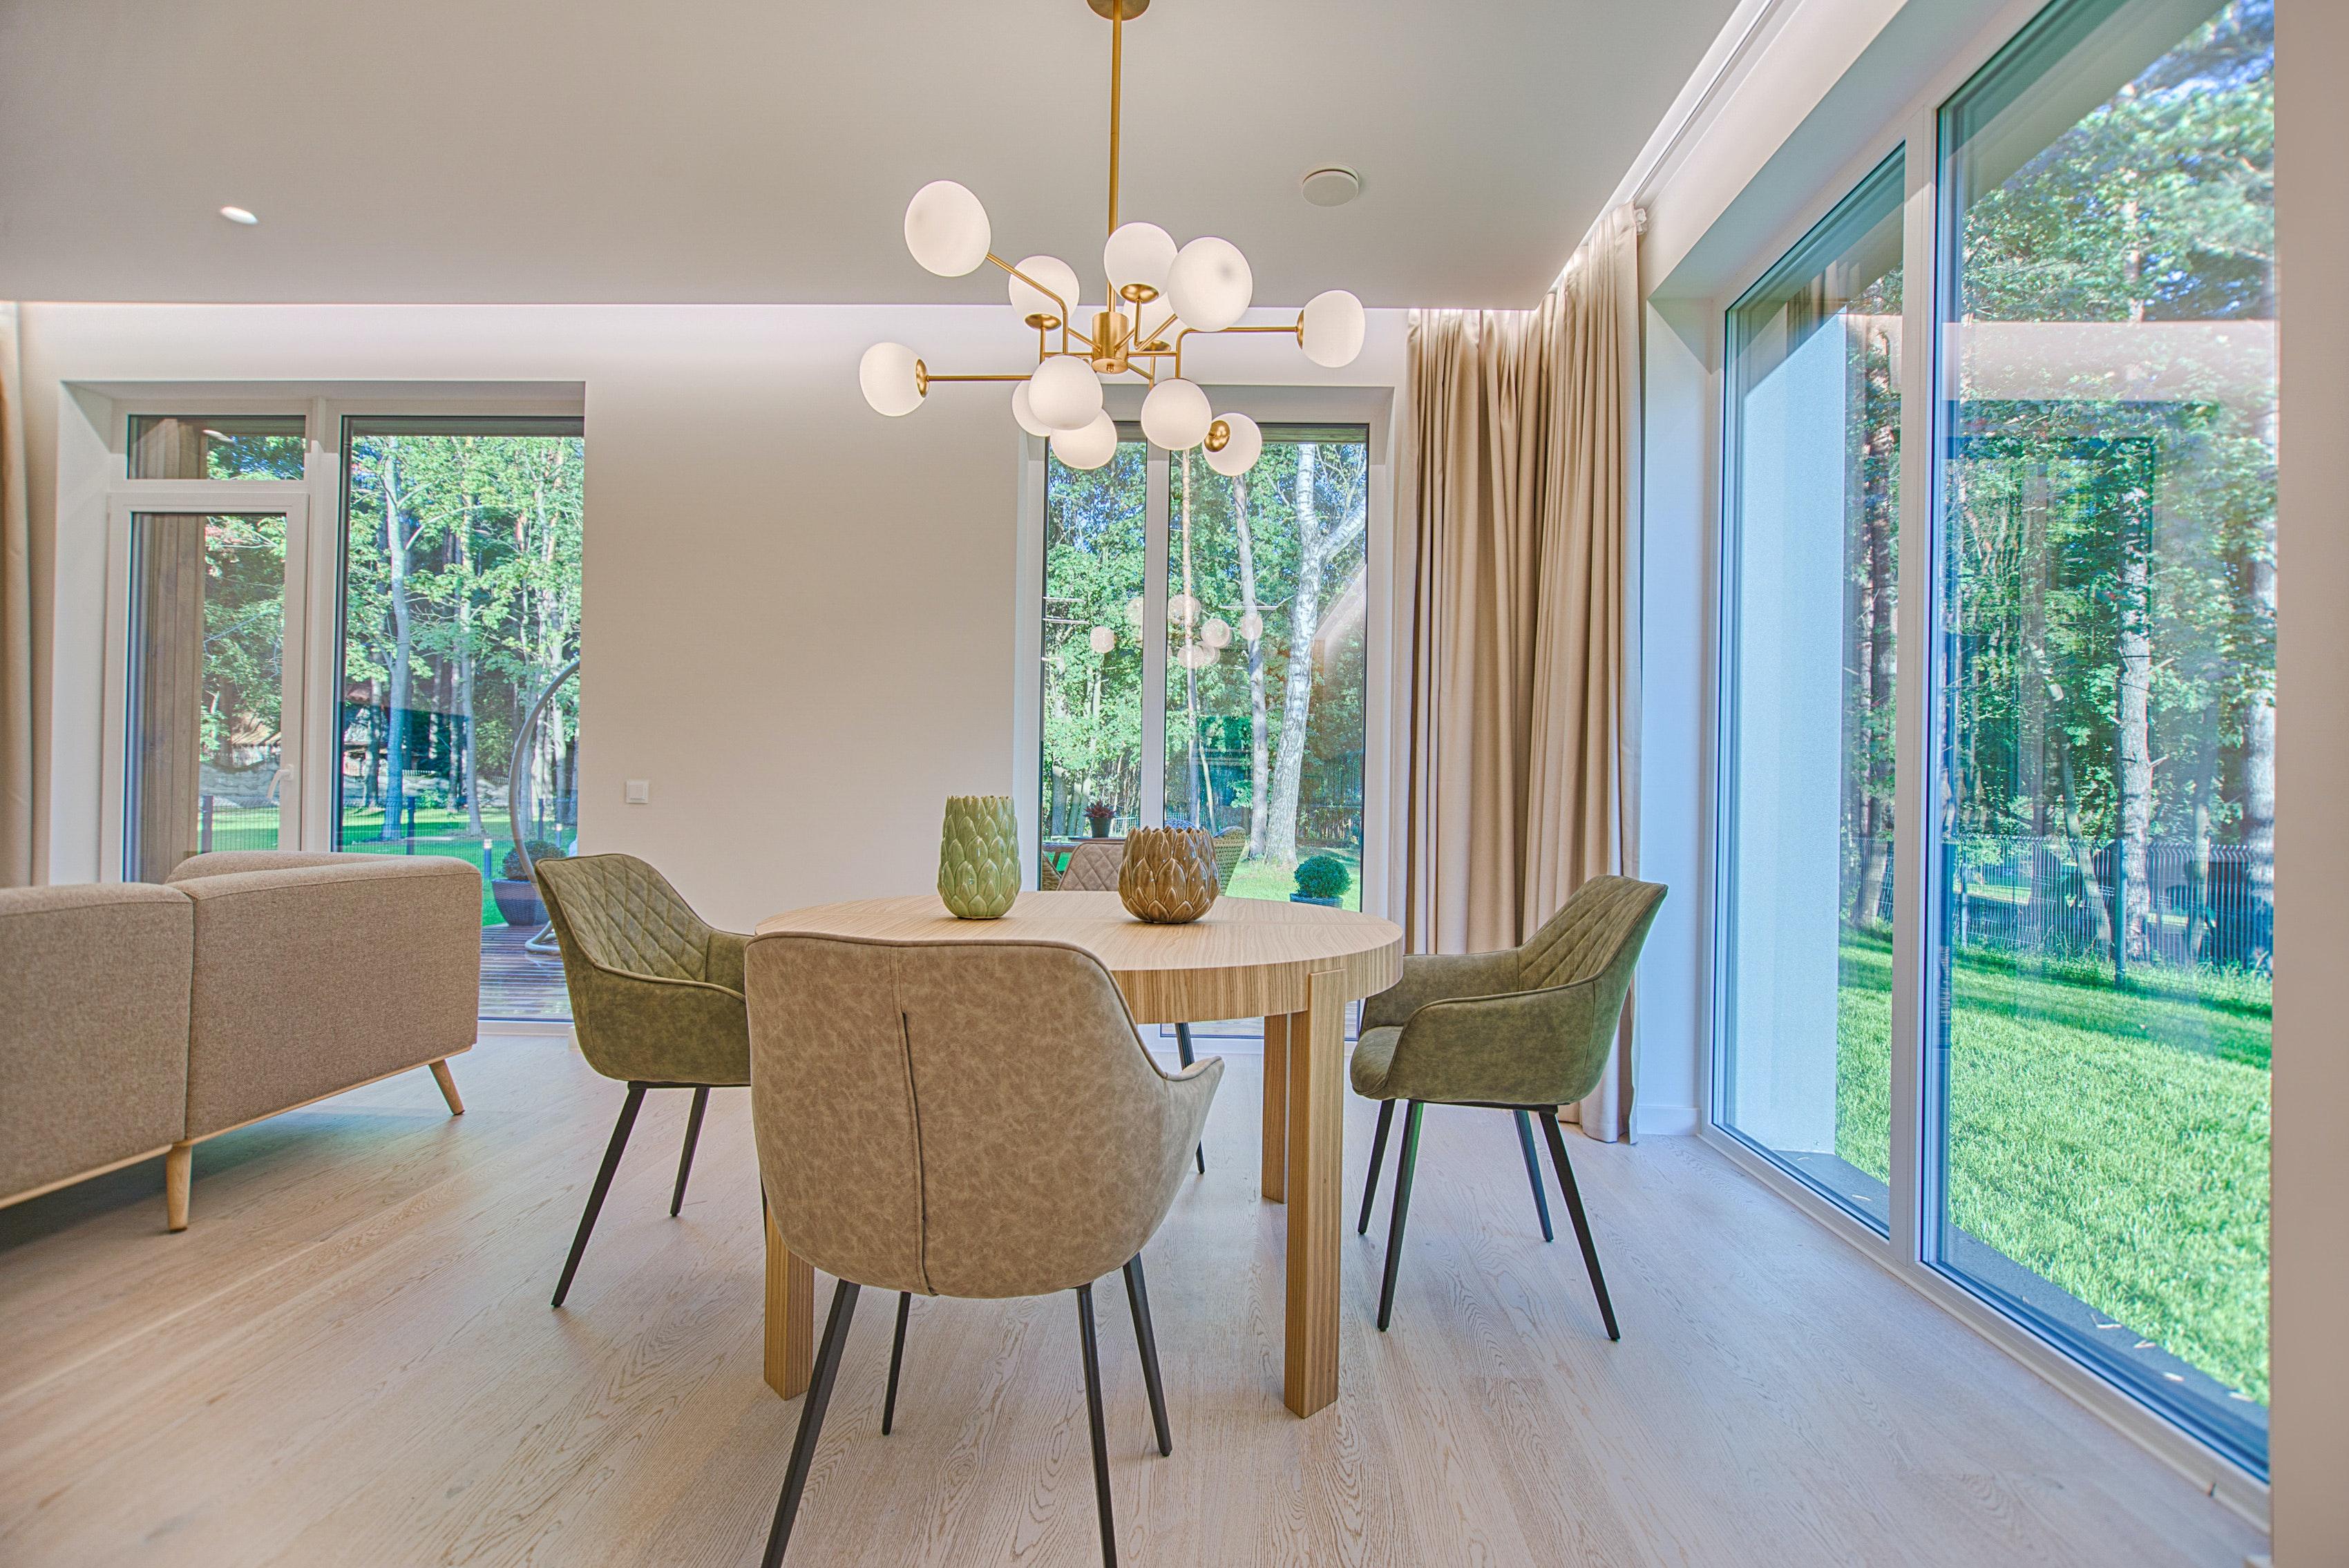
Wooden shutters give every house a sense of class and rustic character. Making your own wooden shutters may be a satisfying and affordable activity that gives you personally made window treatments that flawlessly match the décor of your house. We'll walk you through every step of making your wooden shutters in this comprehensive guide. Follow these guidelines, whether you're a seasoned DIY enthusiast or a novice, to make lovely shutters that will improve the appearance of your windows.
Materials Needed:
- The wood of your choice (cedar, pine, or redwood works well)
- Measuring tape
- Pencil
- Saw
- Sandpaper (medium and fine grit)
- Router (optional, for decorative edges)
- Wood glue
- Clamps
- Wood screws
- Drill
- Screwdriver
- Hinges and hardware for mounting
Measure and Plan
Measure the size of your windows to start. Choose your shutters' shape and style (such as full-height, half-height, or café-style). Determine how many slats are needed for each shutter panel by drawing your design on paper. By carefully planning ahead, you can make sure you have the proper amount of wood and steer clear of costly errors during building.
Wood Selection and Cutting
Select premium wood for your shutters, such as redwood, cedar, or pine. These woods are strong and appropriate for use outside. Use a saw to cut the wood into panels for each shutter based on your specifications. Don't forget to take into account the additional width needed for the frame, taking into account the quantity of slats you intend to use.
Router
Use a router to cut appealing profiles around the frame and slats if you want decorative edges on your shutters. Although completely optional, this step might give your shutters a special touch.
Sanding
Apply medium-grit sandpaper to the cut wood to round off all of the edges and surfaces. To attain a polished surface, proceed with a fine-grit sandpaper. Your shutters will look professional and remain splinter-free by being sanded.
Assemble the Frame
On a level surface, arrange the shutter's frame parts, making sure they fit together properly. To firmly join the corners together, use wood glue. For increased strength, use wood screws to reinforce the joints. For every shutter frame, repeat this procedure.
Add the Slats
Lay out one frame on its side. The slats should be added vertically, uniformly spaced throughout the breadth of the frame. To keep the slat gaps constant, use a pencil or a small piece of wood as a spacer. The slat ends should be coated with wood glue before being firmly pressed into the frame. As directed by the manufacturer, permit the glue to cure.
Install the Hinges
Choose whether you want your shutters to be a single panel or a bi-fold. Make sure the hinges are properly aligned and can swing open and closed before attaching them to the shutter frames. To make sure the hinges are operating properly, test the movement.
Mounting and Final Touches
It's time to put the shutters on your windows now that they are completely built. With a drill, fasten the shutters to the window frame after setting them into position. Use a hammer or sandpaper to lightly damage the wood if you'd like it to look more worn. Apply weather-resistant paint or finish to the shutters to shield them from the elements.
Conclusion
Making your own wooden shutters may be a pleasant and satisfying DIY project. You may design window treatments that not only enhance the beauty and elegance of your home but also express your individual taste by following this step-by-step tutorial. Your handmade shutters will endure the test of time with the right upkeep, turning into a classic feature to your lovely home. Take pleasure in your freshly constructed wooden shutters!

