

Dubai, a city known for its innovation and opulence, is leading the way in embracing sustainable technologies. One prime example is the growing adoption of Tesla charger installation Dubai, with Tesla taking the forefront. If you're a Tesla owner in Dubai, the convenience of charging your vehicle at home is unparalleled. In this comprehensive guide, we'll walk you through everything you need to know about Tesla charger installation in Dubai – from its benefits to the installation process and expert tips.
Tesla Charger Installation Dubai: Empowering Your Tesla
So, you've got your Tesla, and you're excited about contributing to a greener environment while enjoying the cutting-edge technology. Tesla charger installation in Dubai takes this experience to the next level. With a home charging solution, you'll have the power to juice up your Tesla at your convenience. Let's delve into the nitty-gritty details.
Benefits of Tesla Charger Installation
- Convenience: Imagine waking up every day to a fully charged Tesla. With a home charger, you can bid farewell to detours and waiting times at public charging stations.
- Cost Savings: While the initial investment might seem substantial, home charging proves economical in the long run compared to frequenting public stations.
- Faster Charging: Tesla's home chargers offer faster charging speeds compared to standard electrical outlets, getting you back on the road in no time.
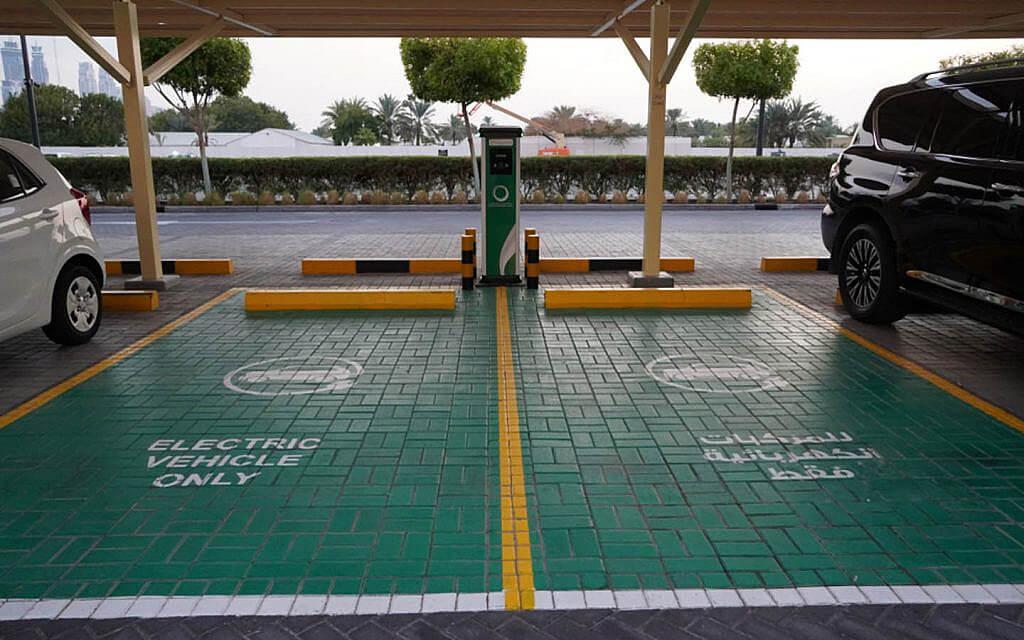
Installing Your Tesla Charger in Dubai
Installing a Tesla charger at your Dubai residence is a straightforward process, but it's essential to ensure everything is done correctly for safety and efficiency.
Professional Installation
Tesla recommends professional installation for your home charger. Certified electricians in Dubai are well-versed in local regulations and can seamlessly integrate the charger into your existing electrical setup.
Required Equipment
To get started, you'll need:
- A Tesla home charging unit
- Sufficient electrical capacity in your home
- A dedicated circuit breaker for the charger
- Proper wiring and mounting equipment
Installation Steps
-
Site Assessment: The electrician will evaluate the best location for the charger, ensuring convenient access and compliance with safety standards.
-
Electrical Upgrades: If your home's electrical system requires upgrades to accommodate the charger's power demand, the electrician will perform the necessary work.
-
Mounting and Wiring: The charger will be securely mounted on the wall, and the electrician will connect it to the electrical panel.
-
Testing: After installation, a thorough inspection and testing process will be conducted to ensure the charger's functionality and safety.
Expert Tips for a Seamless Installation
- Plan Ahead: Consider the charger's location, proximity to your Tesla, and cable length during the planning phase.
- Future-Proofing: Opt for a charger with higher power capacity to accommodate potential future EV models with increased battery sizes.
- Consult Professionals: Enlist the expertise of certified electricians and consult with Tesla experts to make informed decisions.
- Explore Incentives: Research local incentives and rebates that might offset the installation costs.